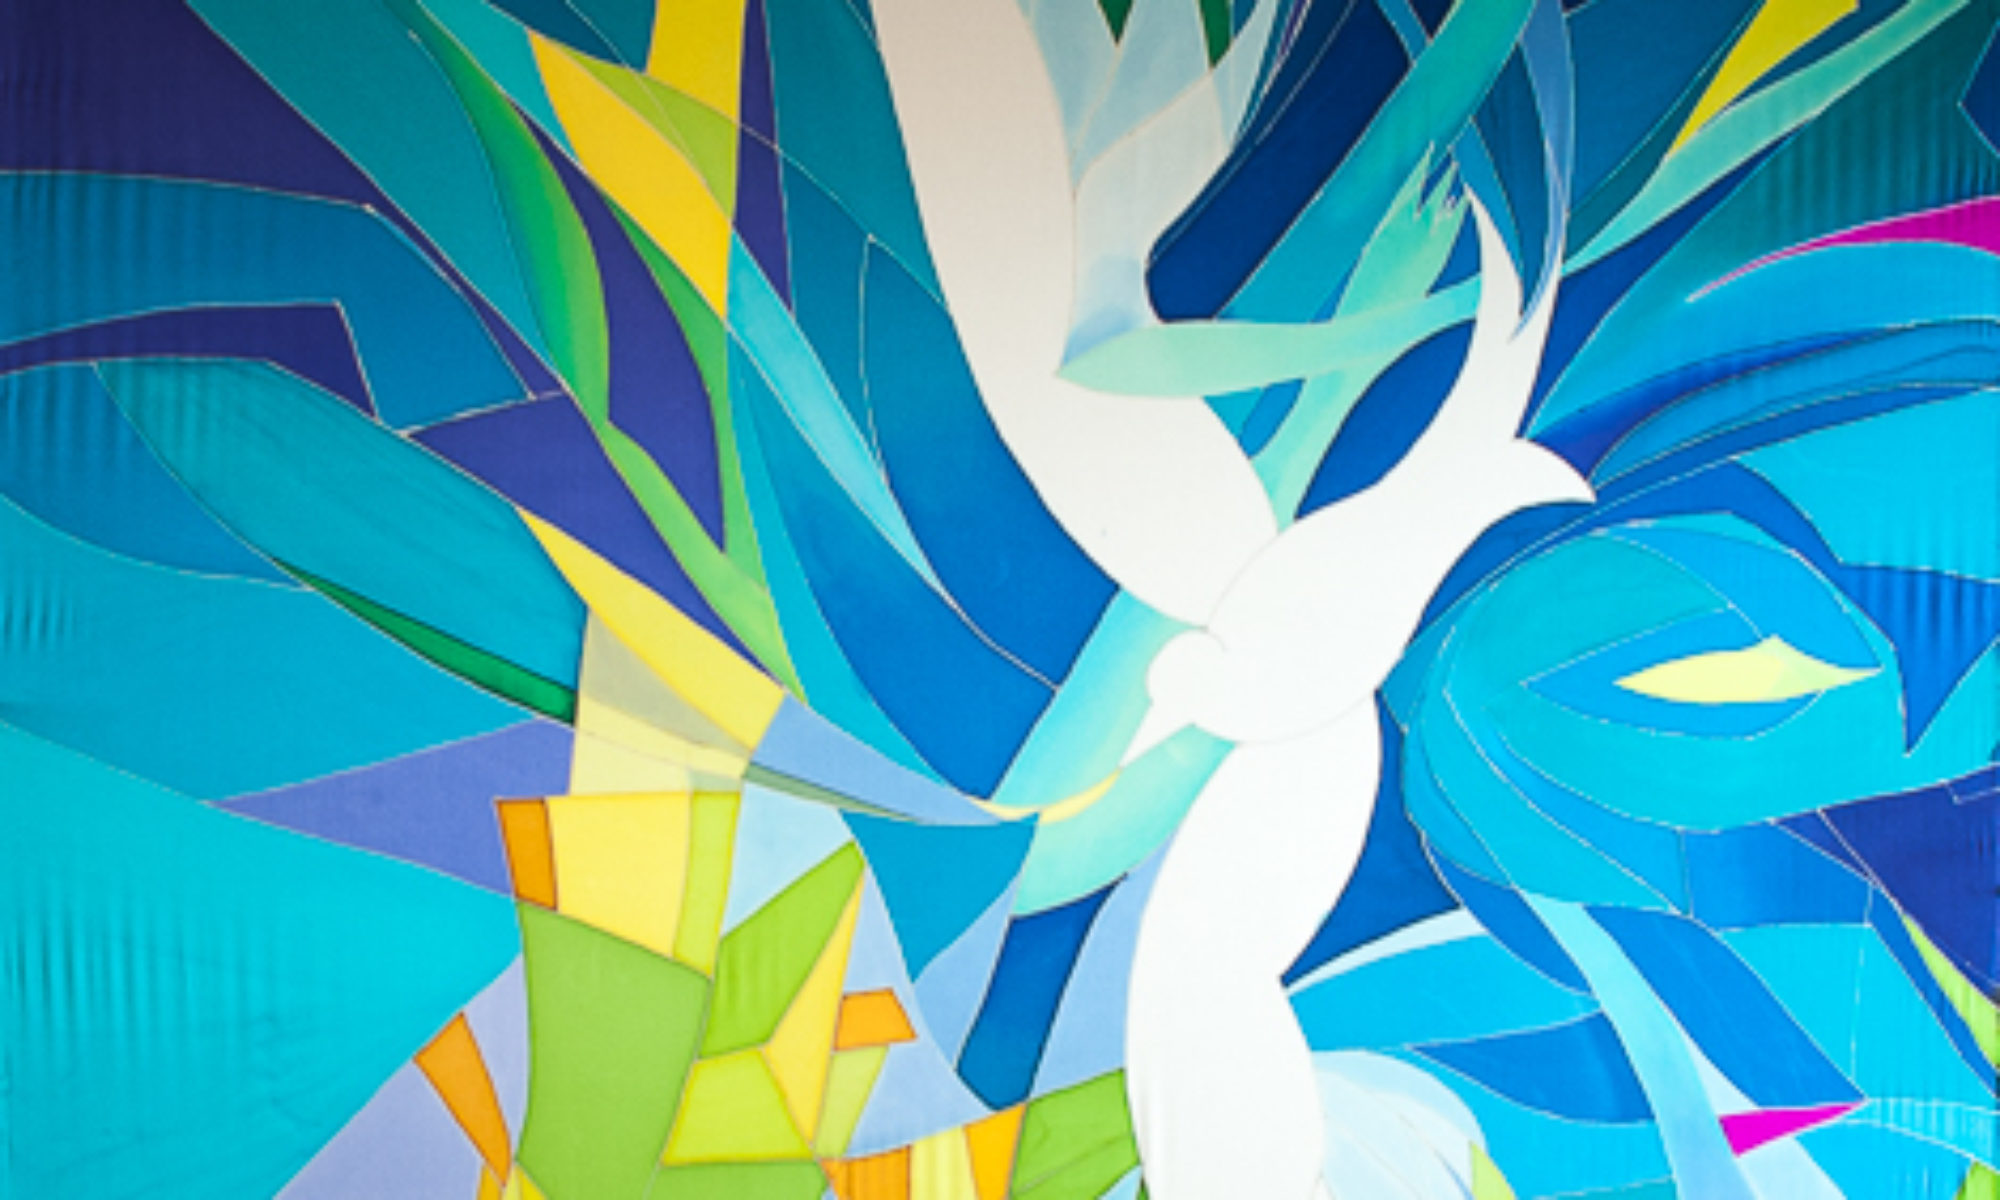
I’m honored to be making another set of banners for Lutheran Theological Seminary at Philadelphia this year. The graduating class of 2012, LTSP, has chosen to commission a pair of banners to continue the set ordered last year by the class of 2011.
Last year’s banners were also in pairs: Green, purple, and gold/white. You can see two of them in the picture below.

Here’s a peek into the process:
 Â I start with white silk pinned to a wooden frame the size of the banner, which my husband has made. Â This frame is 16 feet long and 45 inches wide. We set it up in the living room and adjacent shop area, after moving all the furniture away.
 I start with white silk pinned to a wooden frame the size of the banner, which my husband has made.  This frame is 16 feet long and 45 inches wide. We set it up in the living room and adjacent shop area, after moving all the furniture away.
First I experiment with the colors I’d like to use, see how they mix together. Then I mix up a batch big enough to cover all the silk.
I use techniques similar to watercolor painting when I do these nice loose silk paintings. The silk is made damp first, so that the dyes will move and blend into each other softly. Then I apply the dye with sponge brushes. Â


After the silk is completely dry, usually over night, I remove it from the frame, lay it over newsprint paper, and roll it up in the paper.
Here you can see the whole first red banner, with paper underneath, extending from the living room into our shop.
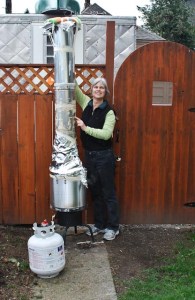
Next I roll the silk and paper up together, drill a hole into the top of the roll (avoiding the silk of course), and stick it into a piece of stove pipe.

The silk roll then hangs vertically down in the center of the stove pipe. I top the pipe off with newspaper and a towel as a lid.
I carry the stove pipe outside and put it into a big pot full of water, with a propane burner underneath. After sealing the pot to the stove pipe with aluminum foil and masking tape I light the fire. The water boils, making steam. The moist heat chemically bonds the dyes to the silk.
The silk steams for 4 hours. After letting it cool for a while I bring the pipe back into the house and unroll the silk. Usually the colors are brighter after they are steamed, so it’s always a pleasure to see what’s inside. Very much like opening a potter’s kiln, to see what the new pots look like!
For these banners, I cut the bottoms into an inverted arch, to match the arches in their new home. Then  the hems are hand-stitched, so I can control the tension of the thread. This way they hang better.
All that’s left now is to finish the hemming, pack them into cardboard tubes, and send them off!


